
Use a simple template to create ancestor card fronts!
Once you have organized data about the ancestors you want to feature on trading/playing cards, you are ready to plop it all in a template and see it come to life, right?!
I am not a graphic designer nor did I want to invest time in learning new software, so I turned to a program I was comfortable with to create my ancestor card templates: Microsoft PowerPoint. Below, you can click on the button and download a template in eight different colors.
Having eight colors to work with means you can eventually create two distinctive card sets, each with four unique color suits!
I did this because I imagined that someday I would create a deck based on my husband’s ancestors. My children can then pull any four suits from either side of their family, maternal or paternal, to play a game. But when they play with cousins from a specific side, they can easily sort and put back together the four suits they share in common with those cousins.
While some may hit the ground running with this step and never look back, I am in the camp who appreciates step-by-step instructions. So here is a written breakdown of what I did to create my ancestor card fronts.
- Choose the four colors you want to use for your deck and duplicate the template slide 12 times. (You need 13 cards in each color to have 52 cards total.) PowerPoint makes this very easy. Select a single card. Go to Home>New Slide>Duplicate Selected Slides. A second slide, identical to the first should appear in the left-hand viewer. Then hit CTRL+Y or the “Repeat” button until you have your 13 slides of one color.
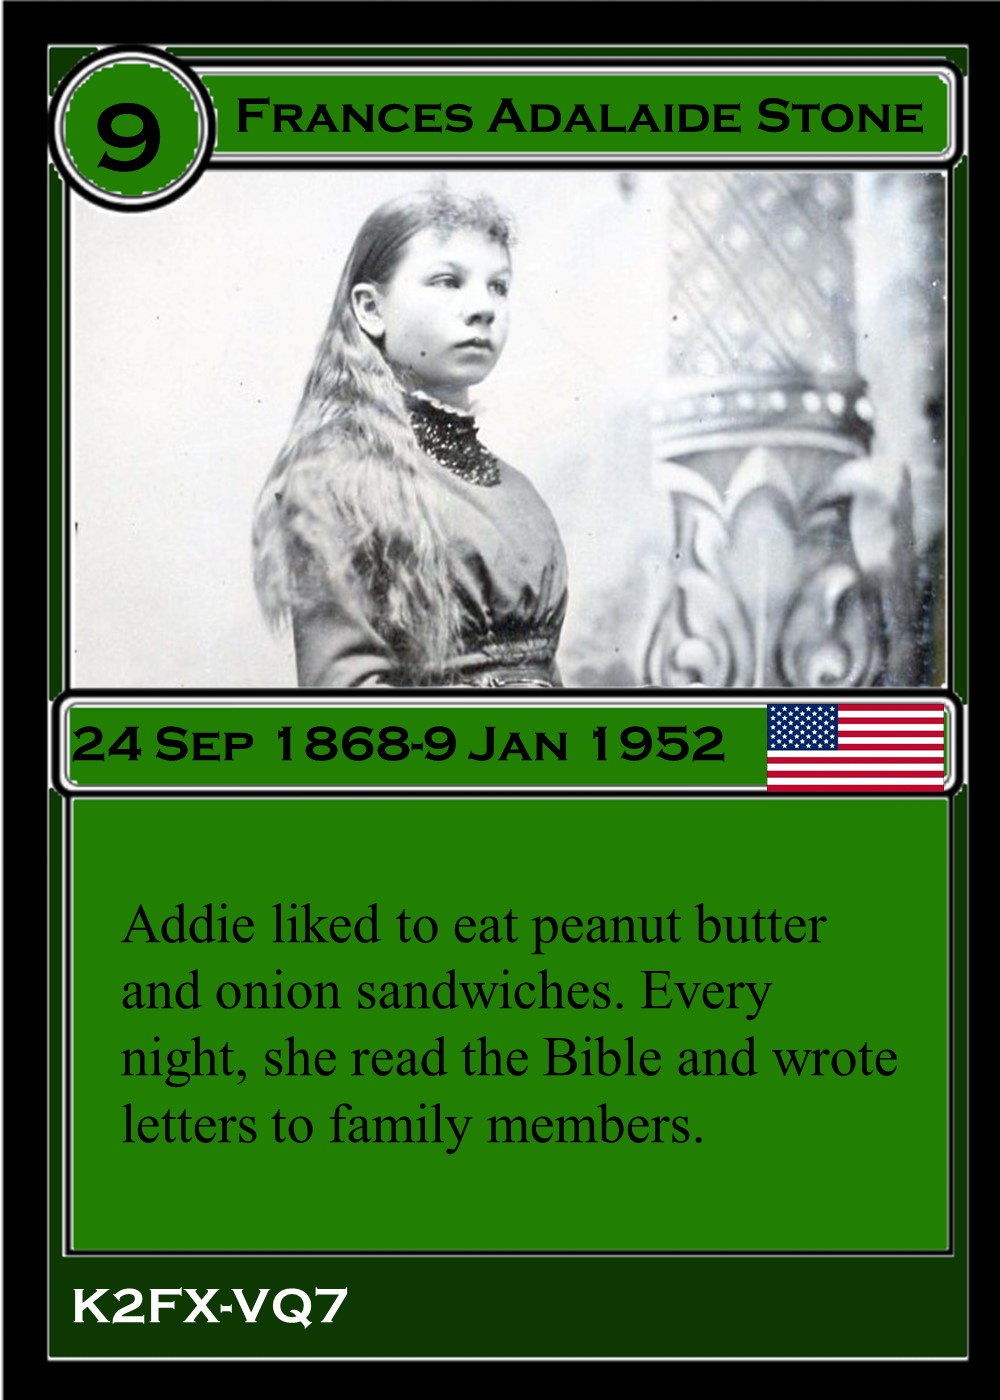
- Copy/paste the text from your spreadsheet onto each card, or re-type to replace the existing template text. Remember to make this your own! If you don’t like the font choices I made, change them!
- Remember to hit “Save” frequently so you don’t lose your work!
- Did you save? Okay, good.
- Insert images by navigating to Insert>Images>Pictures>Insert Pictures from This Device. Browse for the folder in which you saved photos previously (from Ancestor Cards: Step 1 Post). Resize or crop as needed, then go to Picture Format>Send Backward>Send to Back. It is not necessary to make the photo’s edge perfectly match or hide behind the template’s edge. When you save these card fronts following instructions in Ancestor Cards: Step 3 Post, the program will only export what is sitting directly on the 2.5″x3.5″ slide.
- Insert country flag images (if using). Resize as needed. I placed flags in the middle text strip on the far right. Use the wonderful time-saving properties of copy/paste to quickly get your flag on all the cards on which it belongs!
- Insert symbols (if using). I found a boat within PowerPoint’s image library by going to Insert>Illustrations>Icons and searching for “boat.” Similarly, my star came from Insert>Illustrations>Shapes. Again, utilize copy/paste to place these symbols on all necessary cards.
- Save!
- Make adjustments as needed, pulling text boxes around to center them just perfectly, etc, and SAVE again! Then you will be ready for Ancestor Cards: Step 3!
If you are a visual learner, see the video demo of these processes below.

Thank you for sharing. My grandchildren will love this – and so will I.
LikeLike